Tag: gopro

  • The Last Cave: Mercer Caverns

    Zoltar says “I see many stairs and great ice cream in your future”

    Even though I am free from the medical anchor which has kept me more or less close to home this summer, I’m still working on the local bucket list, and all I had was one last cavern to visit – Mercer Caverns. This one is close to the last one I toured (Moaning Caverns), so I got to drive through Murphy’s again. I like that town. Mercer Caverns pretty much has the same history as all the others along the Sierra foothills – it was discovered by a gold miner (Walter Mercer in this case) in the late 1800’s, who noticed a breeze coming out of the ground, dug a hole and found the cavern. He explored it with a geologist, who told him it was all limestone, so forget about finding gold. But as with the other caverns, Mr. Mercer decided to turn his worthless mining claim (which he bought for $1) into a money making tourist attraction. He died young after a bad fall in the cave, but his family and future owners continued to explore and upgrade the tourist route through the years. And much like some of the other caverns, the tour follows a series of steep stairs and narrow passages which lead to small rooms, each with interesting features which the tour guide points out. Kind of sounds repetitive, because it is. So I’ll try to keep this post relatively short for a change.

    I was by myself once again (sigh), so motored down to Murphy’s, arriving a few minutes after 11AM. This place does not take reservations – they are pretty casual about when the tours start, apparently based on when enough people show up. Today, they ran the tour at 11:30 as a few small groups showed up after I got there. I was planning to use the GoPro again to capture some video, and had the chest harness and camera setup, but was told that video cameras were not allowed. Huh? They mentioned that on their Website, but I assumed they were referring to the large cameras that serious videographers use, not a very small GoPro firmly attached to my body. Plus every phone and my, what they called a still camera, take high resolution videos. I asked why, and was told “that’s the rules”. No other explanation. Fine….I tossed the harness and camera back in the car. A very dumb rule.

    So, I got to the head of the line, and after a quick intro by the tour guide, down we went. This was the actual entry point that Mercer hacked out – you can see the hole from the first anchor he used to rope down the hole, next to the plaque.

    Photo of the entrance to the Mercer Cavern in Murphys CA

    The stairs leading down were quite steep and narrow, and not as well lit as in some of the other caves, but with solid railings to hold on to. There were also a few tight spots where taller people have to duck to avoid smashing your head. There were four or five landings on the tour where we stopped and gathered to view some of the classic features you see most caves – stalactites and stalagmites, columns, various flow features. Each of these rooms were fairly small, but were well lit to highlite the features.

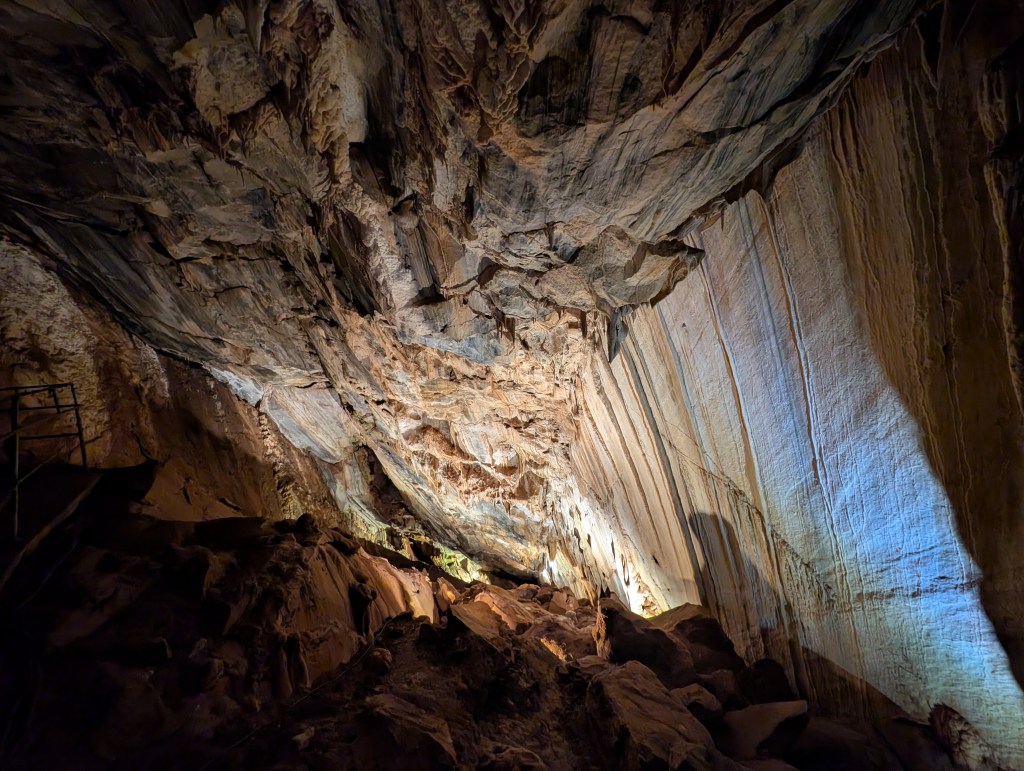
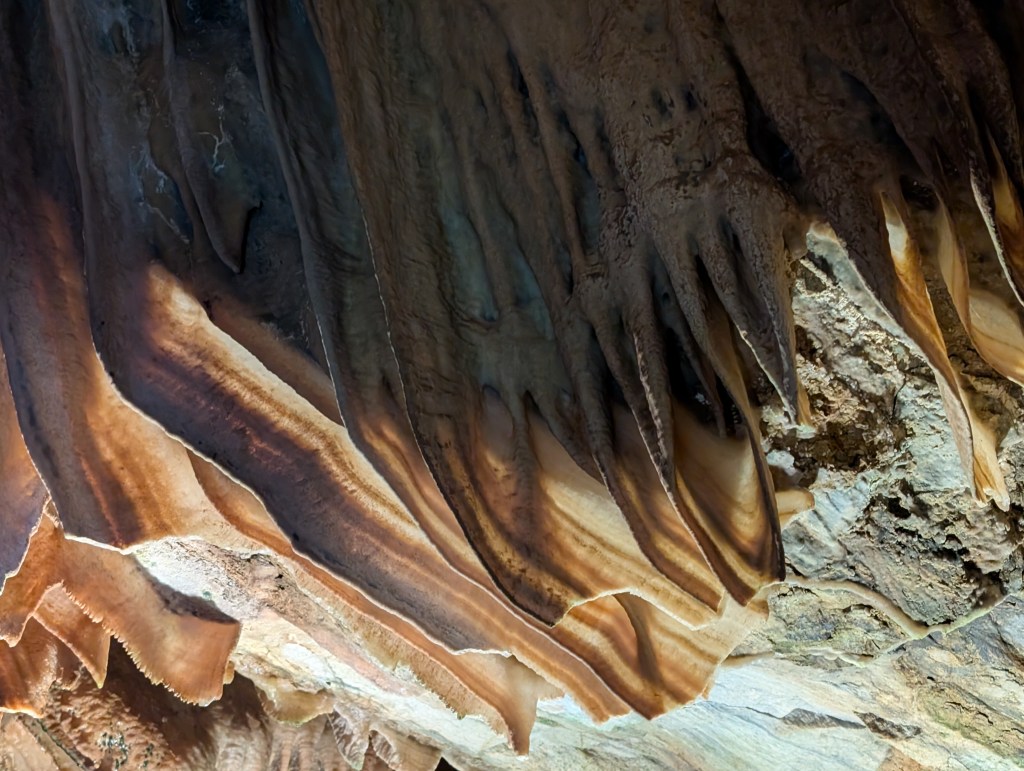
     Because the rooms and passages were so narrow, the owners placed plexiglass protectors along the cave walls in a number of places, to keep visitors from touching anything. That made it difficult for photography, but I managed to get some good shots, mostly with my phone. I hardly used the Sony camera swinging around my neck (I really need to buy a harness for that thing).

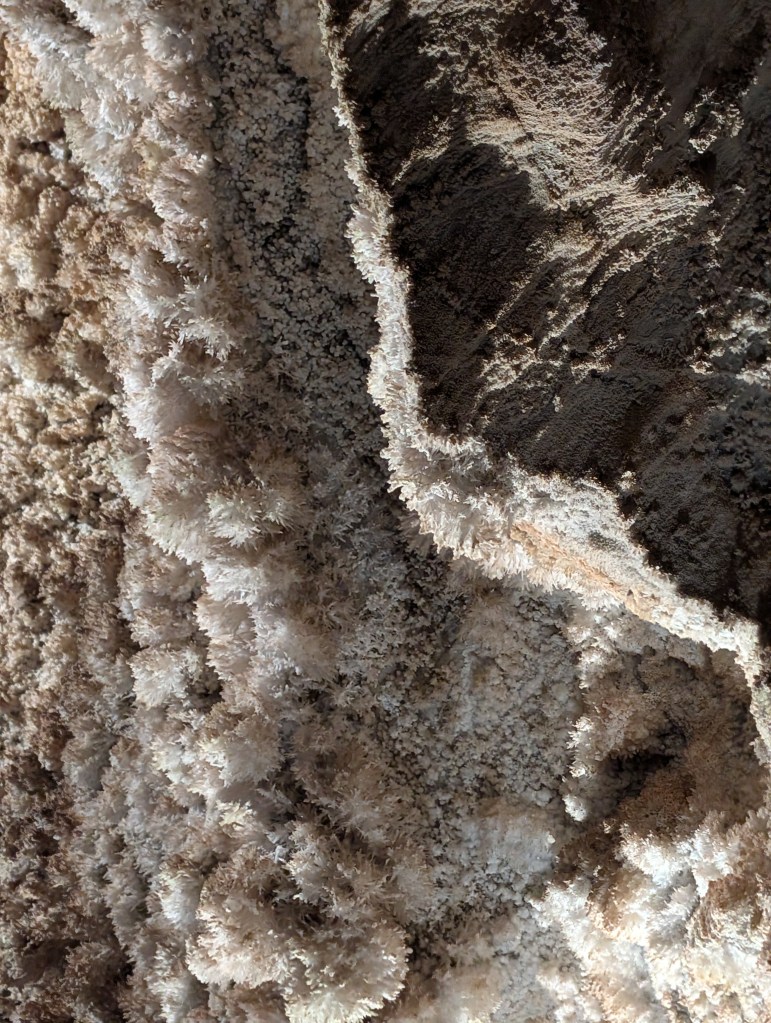
    The very last stop had the one unique feature for this cavern – some incredibly delicate and beautiful aragonite crystals, which won a major award at the Paris Worlds Fair in 1900.

    After we reached that landing we headed back up, stopping for the traditional candle and lights-out display, and then continued climbing back up the 17 stories of stairs to the top. Phew.

    I’m totally caved out now – this was a nice tour – great tour guide, nice people in the shop (that’s where Zoltan resides). But after four other tours, the aragonite crystals were the only feature that stood out for me. And I was a bit annoyed with the slightly rude response I received by one of the staff about why I could not use the GoPro camera (“cause it’s the rules”). Whatever. It was an enjoyable outing.

    The Website for Mercer Caverns has quite a bit of detail on the history and geology of the caverns.

    http://mercercaverns.net/index.html

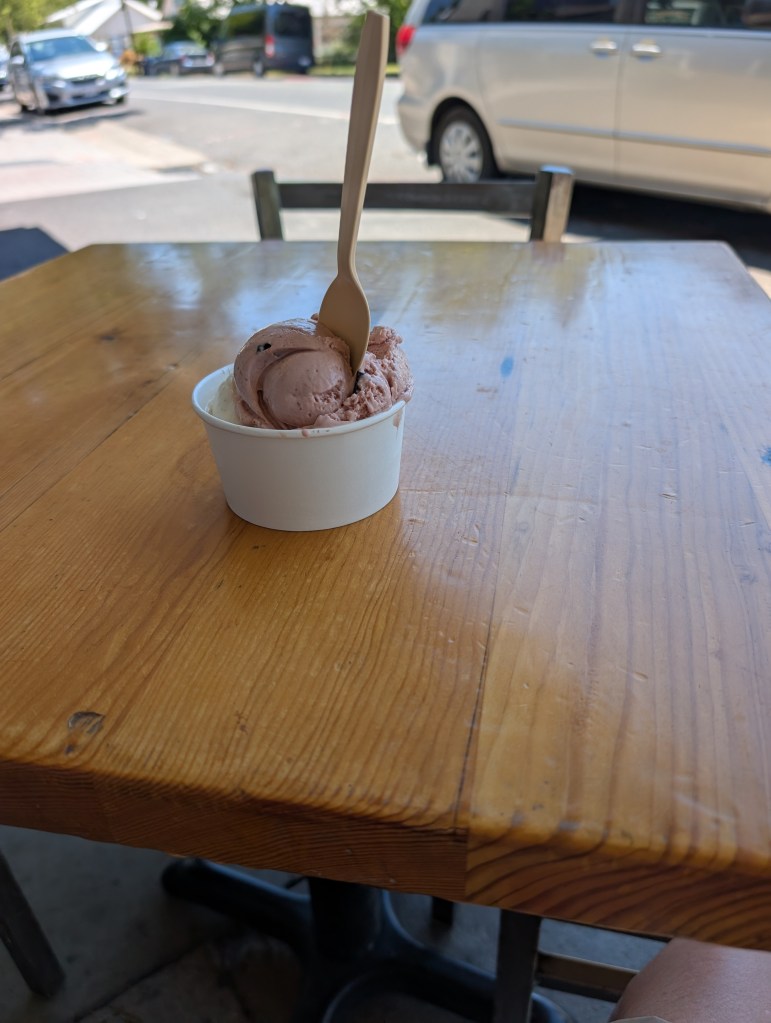
    I hung around, waiting for my heart beat to climb down to normal after the climb out, and then headed home. But, I just had this absolutely desperate need for ice cream. Fortunately, there are two shops on Main Street in Murphy’s, which I had to drive through, so I picked one…it was a vry good choice.

    No more caves for a while. There are caves in other parts of the state – Lava tubes around Mt Lassen and Lava Beds National Park, and a few around Sequoia National Park. I may eventually get to those. The only one I’m interested in now is Mitchell Caverns, in the Mojave Desert.

  • The Donner Tunnels: Hiking, Railroad History & Street Art

    Map of the Donner Tunnel Hike

    The problem with being alone after about 50 years of living with your best friend, is that it’s easy to get bored especially when you have few friends and relatives where you live. Today was one of those days. It’s too frigging hot (100+ F) for outdoor activities, and I did not feel like working out and hanging out at the club. Or walking aimlessly around a shopping mall (have me committed if I ever start doing that). This would be a good day to either be underground or someplace else cooler than anywhere in the Sacramento Valley. What to do. I had been planning to do the Donner Tunnel hike sometime this summer – higher altitude, nice cool tunnels, interesting engineering and history, and less than a two hour drive up I-80. A good choice for a boring, incredibly hot day.

    A bit of history – the Donner Tunnels (15 of them I think) were built in the late 1860’s by 1000’s of Chinese laborers, as part of the Transcontinental Railroad. They had to drill and blast through solid granite, build massive retaining walls, and probably lay the track as well. Aside from the rock tunnels, the railroad also constructed lengthy snow sheds to protect the tracks from deep snowfall and avalanches. Some of these are at least a mile long, and connect to the tunnels – these were originally wood, and were eventually replaced in the 1900’s by massive concrete structures. Pretty amazing engineering and construction techniques.

    Once the rail line was abandoned (1993), the rails were torn out, leaving a very nice place to hike – it has lots of shade for hot days, nice views of the surrounding mountains when you are not in a tunnel/shed, and a nice gravel path that stretches for miles. You do not need a map – no chance of getting lost unless you really want to. The seemingly endless and enormous concrete shed walls became a magnet for graffiti artists, so the walls now have layers of colorful and imaginative murals, as well as the usual scrawls you see in cities. It’s a fun hike – not too strenuous, good place to bring the kids and dogs. And a great place for all kinds of photography. My kind of place.

    I had a nice easy drive up I-80, and the instructions were pretty accurate for where to park – there were quite a few cars already there, and the way to the tunnels was obvious. I loaded up my pack, stuck my GoPro clip on my shoulder strap, grabbed my headlamp, and headed off to parts unknown.

    View from the parking lot to Tunnel #6

    The first tunnel you enter is actually the longest one – Tunnel #6. It is also the darkest since it goes through solid granite. There is a shallow stream running through it to add a little challenge to the journey. This was the only place where you really need a flashlight or head lamp (preferred). The path in this tunnel has a lot of rocks, not just gravel, and it would be a painful and wet fall if you trip on one. There is not much to see on the walls (it’s really dark), so the safest choice would be to look in front of you most of the way. It’s weird that as you get closer to the end of the tunnel, it’s more difficult to pick out what’s in front of you – the light is blinding. It was a bit creepy, but not too difficult.

    After Tunnel #6, it seems like the rest of the rock tunnels are short and dry, and have a snow sheds attached. This is where the graffiti really starts, more so at the end of the tunnels/sheds, but quite a bit through the lengths of the sheds as well. The concrete structures have openings for light and air through the length of each shed, so you do not need flashlights unless you are walking though the attached rock tunnel, and those are short. The openings provided enough light for the graffiti artists, so there is a lot of interesting works along the way.

    This hike is extremely popular – I imagine it is very crowded on the weekends. Lots of families and groups. There were also a few graffiti contributors while I was there. Some families bring a bag of spray paint cans, and let the kids have at it. And then there was one woman with 3 kids, who was also spraying away while I was taking a water break. I of course critiqued her art work, which was just a blob of red paint. She finally gave up on whatever she was trying to create, covered it over in white paint as a canvas, and intended to start over. I applauded her effort. I’ll photograph it the next time I’m there. She’ll be famous then. It’s a shame that there are not enough open walls for the novices to play on – they wind up covering over some really interesting murals, that talented artists created. Somebody should have created a book of the best murals. Too late now.

    Here is a bunch of photo’s of the graffiti and the long snow shed.

    And a couple of more from the outside

    I decided to call it quits at the entrance to the fourth shed (where the struggling graffiti artist was plying her trade) – I was not tired, I just wanted to get back home at a reasonable hour. I also wanted to try a different way of anchoring the GoPro for the return trip. On the way out, I had the GoPro on a clip attached to my shoulder strap – no matter how much I tried to adjust it, the camera was alway pointing to on side. Heading back, I put my Sony in the backpack to get it out of the way, and just held the GoPro in front of me (while holding my hiking stick in the other hand. The results were much better. The video below starts in a shed, and transitions into the very dark Tunnel #6. I have a few other videos I’ll attach later on, once I do some editing. The first is the walk back through dark Tunnel #6

    The next video shows all the street art in part of the long snow shed, and also how you can go from sunny to very dark…a bit creepy.

    This was a fun trip, quite different from some of the other strange adventures I’ve had this summer. I’m going to try and get a small group together to do the full hike, which is only about 5 miles or so round trip. This time, I’ll remember to change batteries in the headlamp. And bring some spares. You can never be too cautious. 

    If you do plan to try this hike out, here are a few important tips:

    1 – Wear comfortable walking shoes – the trail is gravel the entire way. I guess if you are used to hiking in flip-flops, you’ll be OK. It’s also wet in Tunnel #6.
    2 – Bring a flashlight or headlamp – it’s really dark in that first tunnel, and dim in a few other spots.
    3 – If you really have to add your own art or scrawls, try not to do it on any of the large murals.
    4 – And most important of all – there are no restrooms in the parking lot, or along the 2.9 mile length of the trial. It would also be inappropriate to do it in a tunnel or snow shed. If you need to go, go before you get there.