April 16th, 2026
This has been a very different kind of trip for me so far – I usually have enough free time to work on blog posts, but I have been either driving, hiking, or doing something with cameras pretty much the entire time I’ve been here. And finding time to sleep has been a problem as well. So, here is an update on this trip before my afternoon nap, and heading out for about a 12 hours photo shoot this evening…..in the freezing cold.
My flight out to Salt Lake City was uneventful – it’s only a 2 hour flight, and we got in early. For the first time in a very long time, I even arrived at the airport slightly less than 2 hours from departure. I’m living on the edge these days..
This is the first time I’ve flown into Salt Lake City since, oh, maybe 1980 when I had a class in some long forgotten technology. I’ll bet the airport did not have jetways back then, and you boarded/departed the plane on stairs. Anyway, the airport is enormous now, and finding the rental car counters was a challenge. I eventually found Budget, got a little Chevy SUV-like thing, and headed south-east to Moab. What a beautiful drive! Once you get out of the main highway (US 15) past Provo, the landscape is incredible. It was a very pleasant drive on a mostly four-lane highway with lots of rest stops, but it was very nice to finally motor into Moab around 5 o’clock.
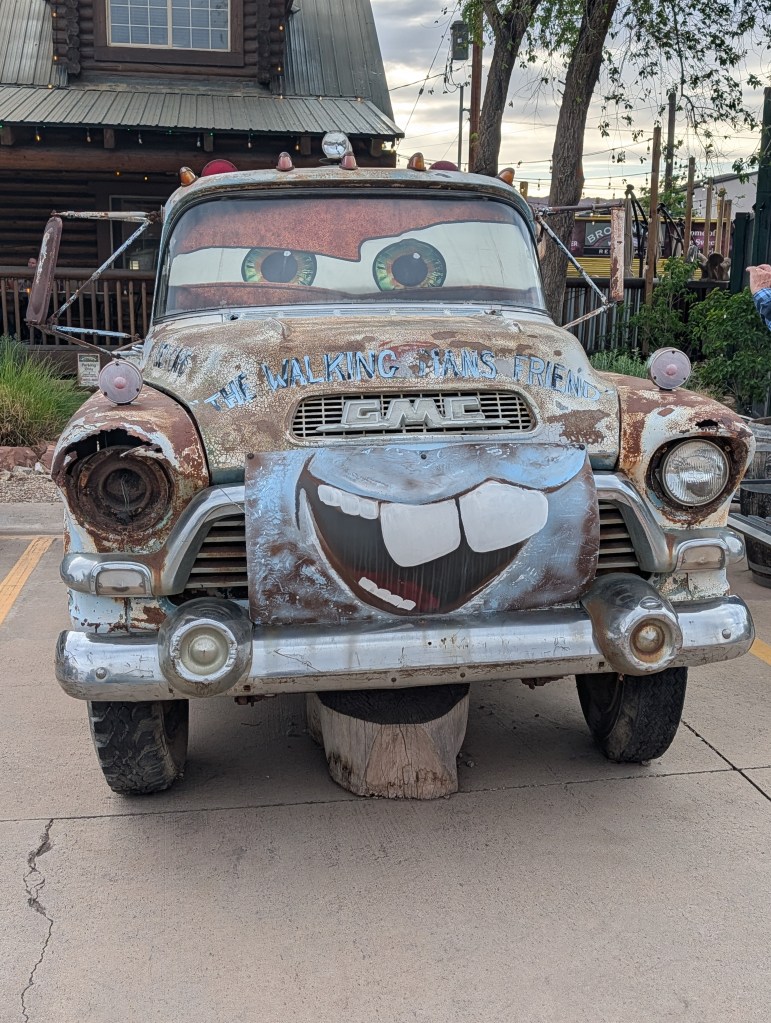
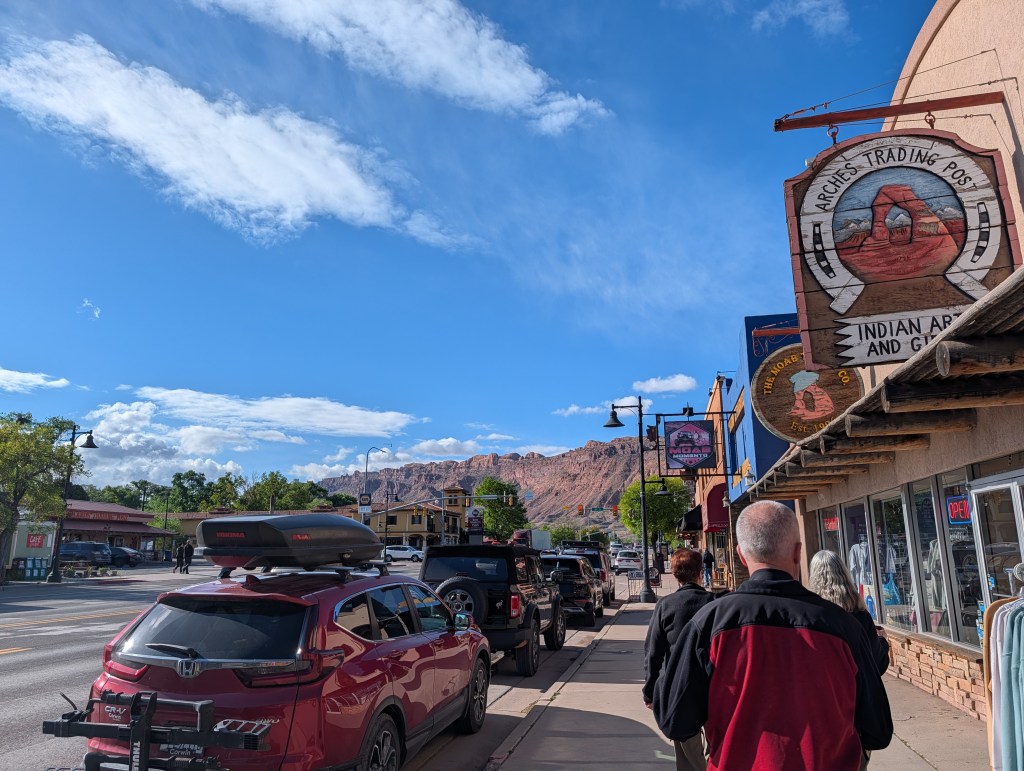
As I mentioned in the last post, I have only been to Moab once before, in my undergraduate geology field camp back in 1972. Moab back then was a mining town – there was a huge uranium mine and processing plant, which closed in 1984, leaving a lot of tailings and waste to clean up. Back then, there was not much of a reason for tourists to flock here, so the town was pretty small. Now the main street is filled with brew pubs (yes, in Utah), restaurants, jeep tour offices and of course the usual tourist shops selling t-shirt/western type stuff. And a lot of hotels. And at least four ice cream and/or gelato shops. I kind of like the place – the town has nice vibes, sort of a larger version of Kanab Ut. And it is a 10 minute drive to the park entrance.
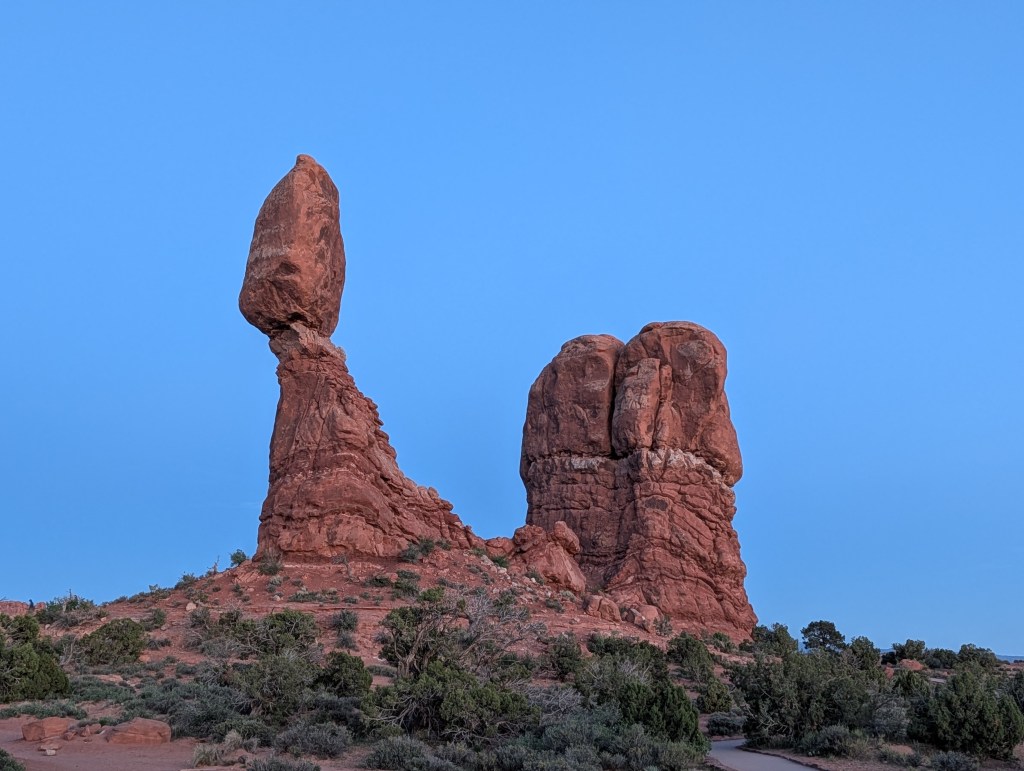
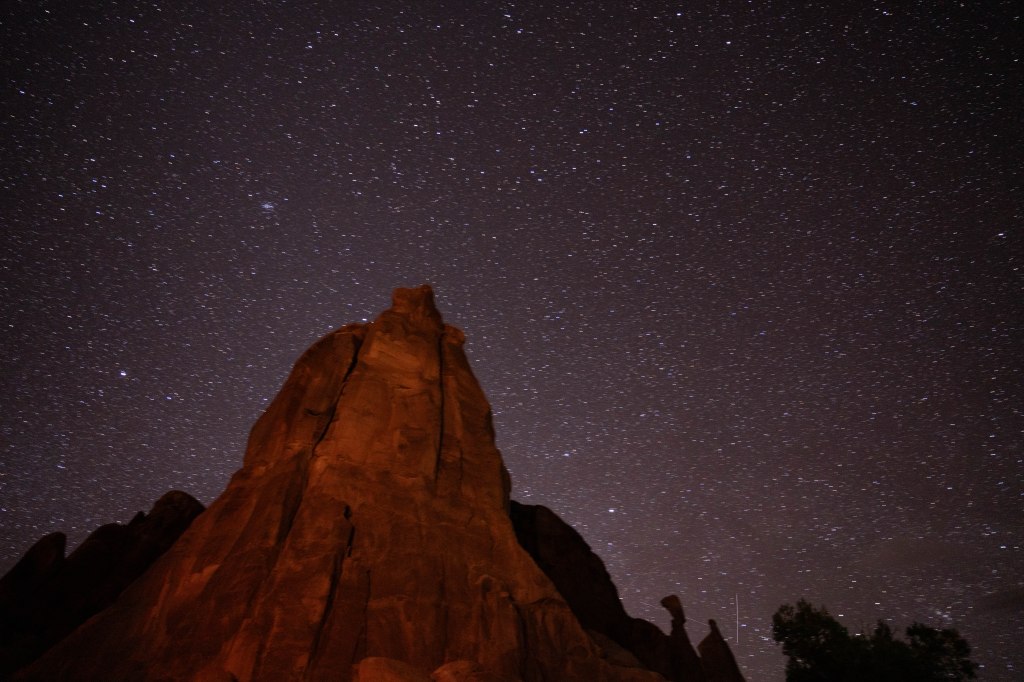
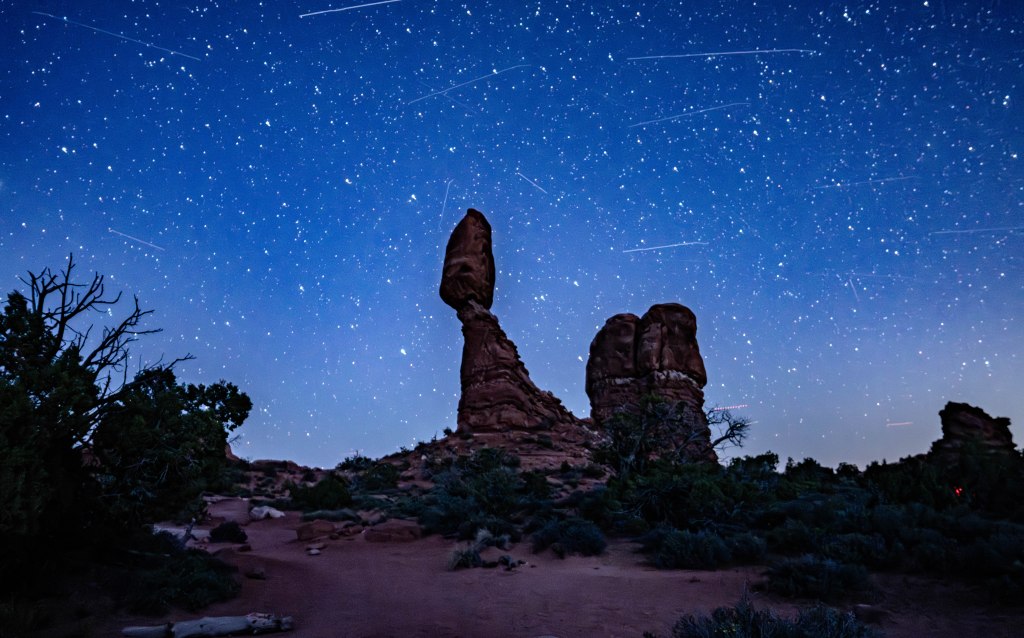
After settling into a very nice room and grabbing some dinner at a nearby restaurant, I decided to take advantage of what was forecast to be a cloudless, but a bit windy, night. I might as well give it a try on my own. I did a Google search (of course) on the best location in the park for night photography, and chose one that sounded interesting (Balanced Rock), which was not too deep a drive into the park since I was pretty tired from the flight and drive. I loaded my gear and warm clothing into my sporty little Chevy, and headed off to the park a bit before sunset.
There were no lines getting into the park – it is open 24X7 but the entry booths are not staffed at night. Once you get past the entry point, the drive was one big “OMG” for me. The landscape is incredible – enormous walls of red sandstone, huge fins and rock towers. Absolutely spectacular. Very much different than Zion or Bryce. It was about a ten minute drive to the parking lot for the Balanced Rock – I pulled in, and did a quick walk-around to figure out where to set up once it got dark. And took a few pictures while it was light of course.
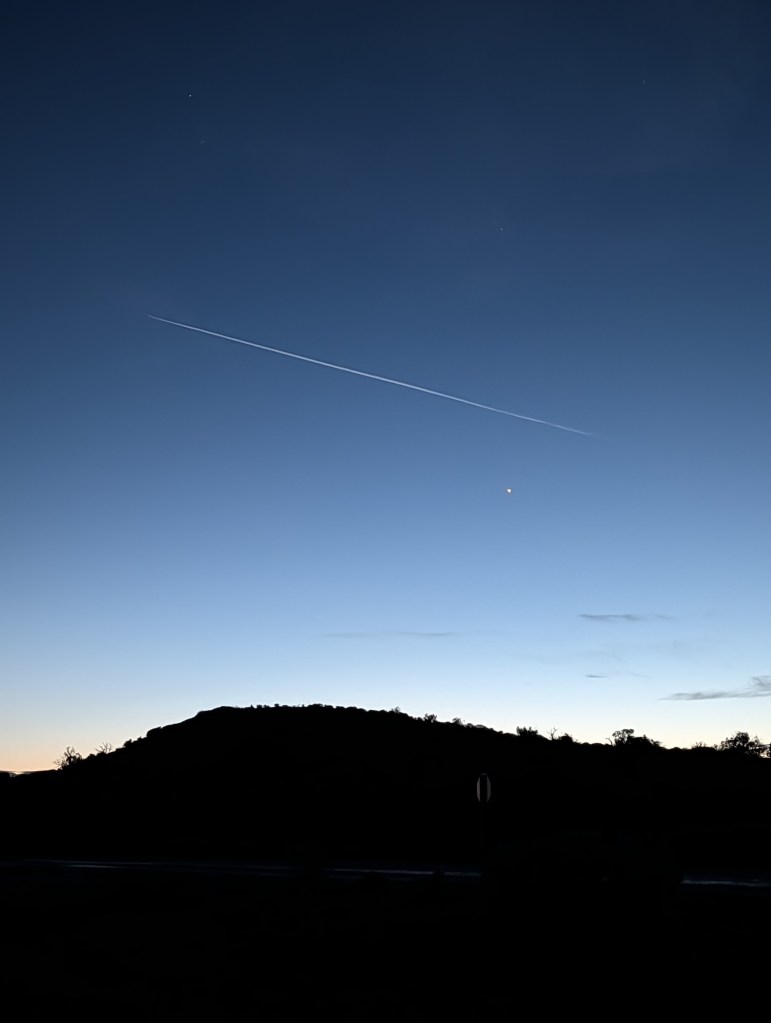
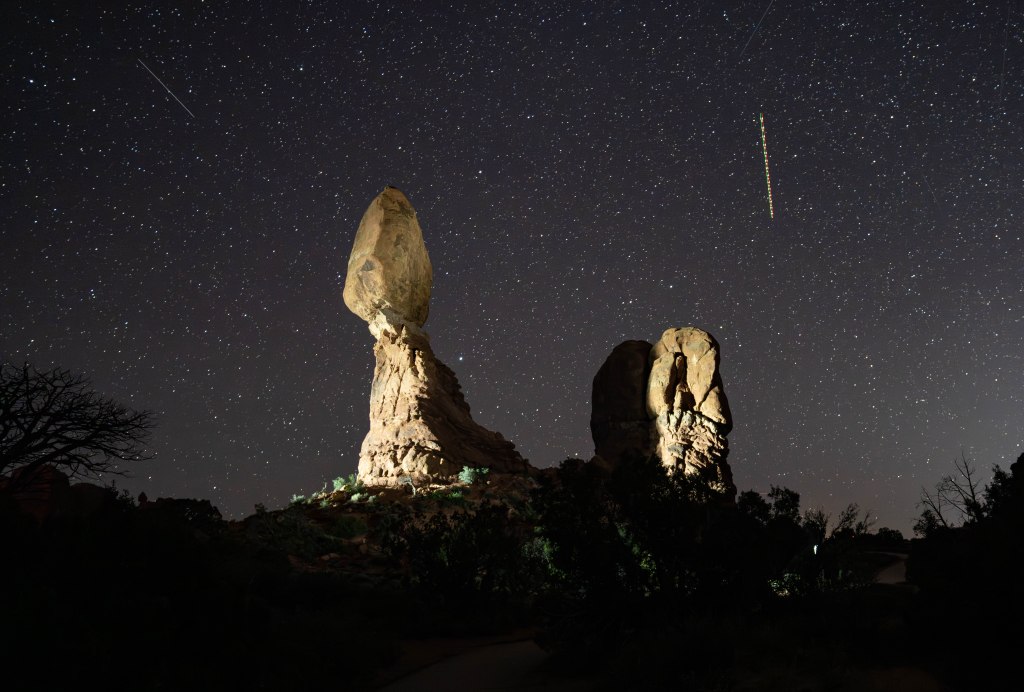
There were a few other cars in the lot, also waiting for nightfall, and a steady stream of tourists stopping for selfies. Once the sun went down, few if any cars stopped by, but there was a steady stream of traffic heading towards the park exit, even at 10PM, there were still cars driving by. This was a problem for night photography – with a 20 second shutter speed, a passing car can ruin a shot. Or in some cases as I discovered, it actually helps to have the rocks “light painted”.
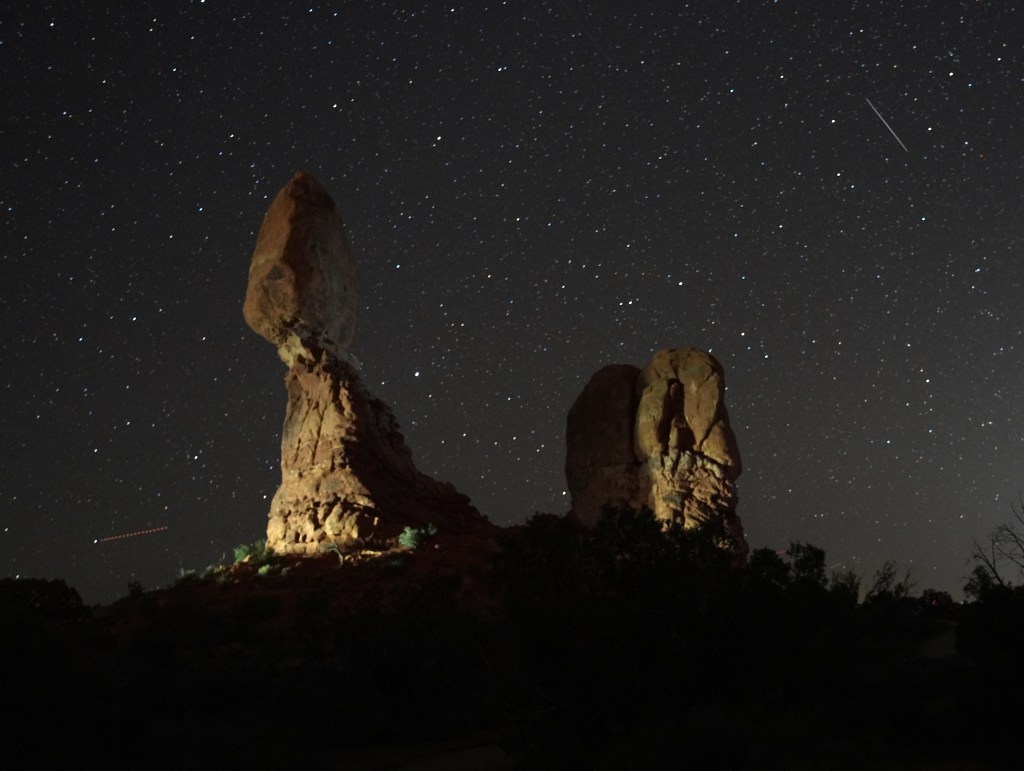
The other problem I had was with groups wandering around in the dark – it was incredibly dark so that you could not even see a foot in front of you. Every now and then, I would hear voices of people coming down the path and had to warn them before they walked into my tripod. There were also groups with flashlights, randomly pointing at the rock formations. Crazy town.
Eventually, I had my fill of this location, and decided to head back towards town. I made one more stop at another location requiring a short walk down a gravel path, and after that, headed back to the hotel. I was way too tired to look at any of the results, and just collapsed in bed.
The next morning, I downloaded the photos on the SSD card to my laptop, and started doing some editing using Adobe Lightroom CC – I have been learning how to use this software, (Youtube videos), but I’m still a novice. Mostly what I did was changes to exposure, clarity, shadows – all basic editing, which is allowed in competition. I was surprisingly pleased at how some of the shots came out, given my lack of experience with astrophotography – I’ve still got a lot to learn about camera settings and processing with Lightroom. That’s why I’m taking this course.
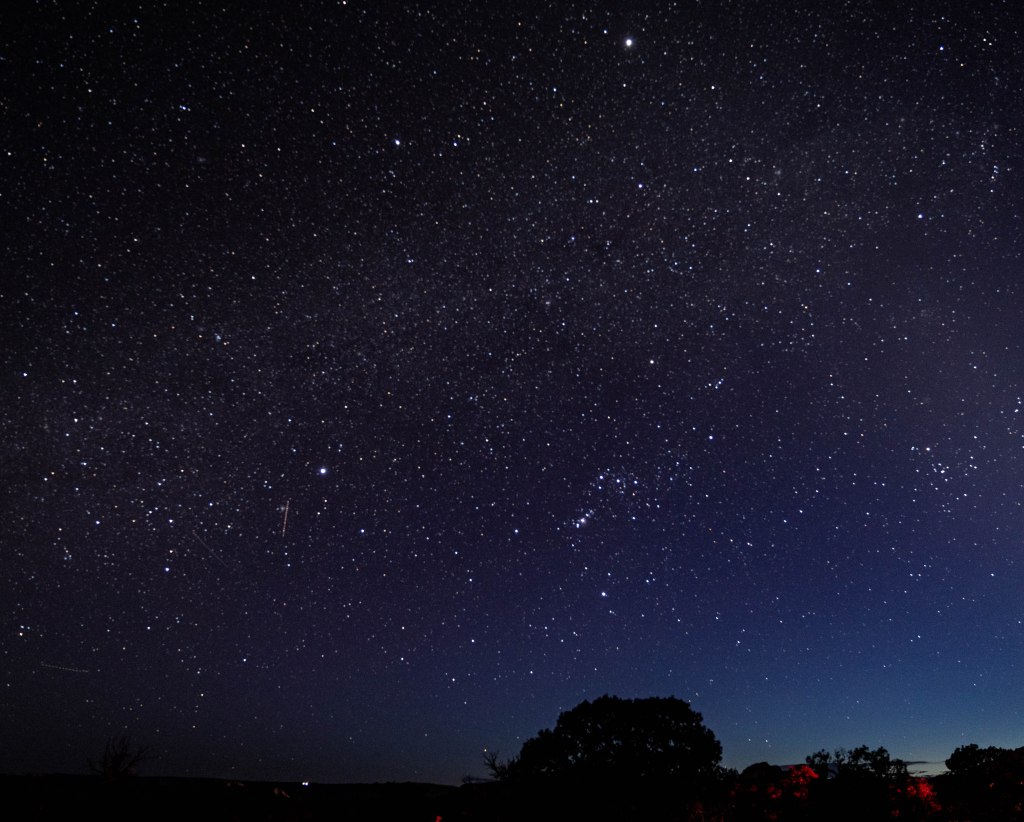
And you can get a little crazy with the editing and get some very unnatural colors.
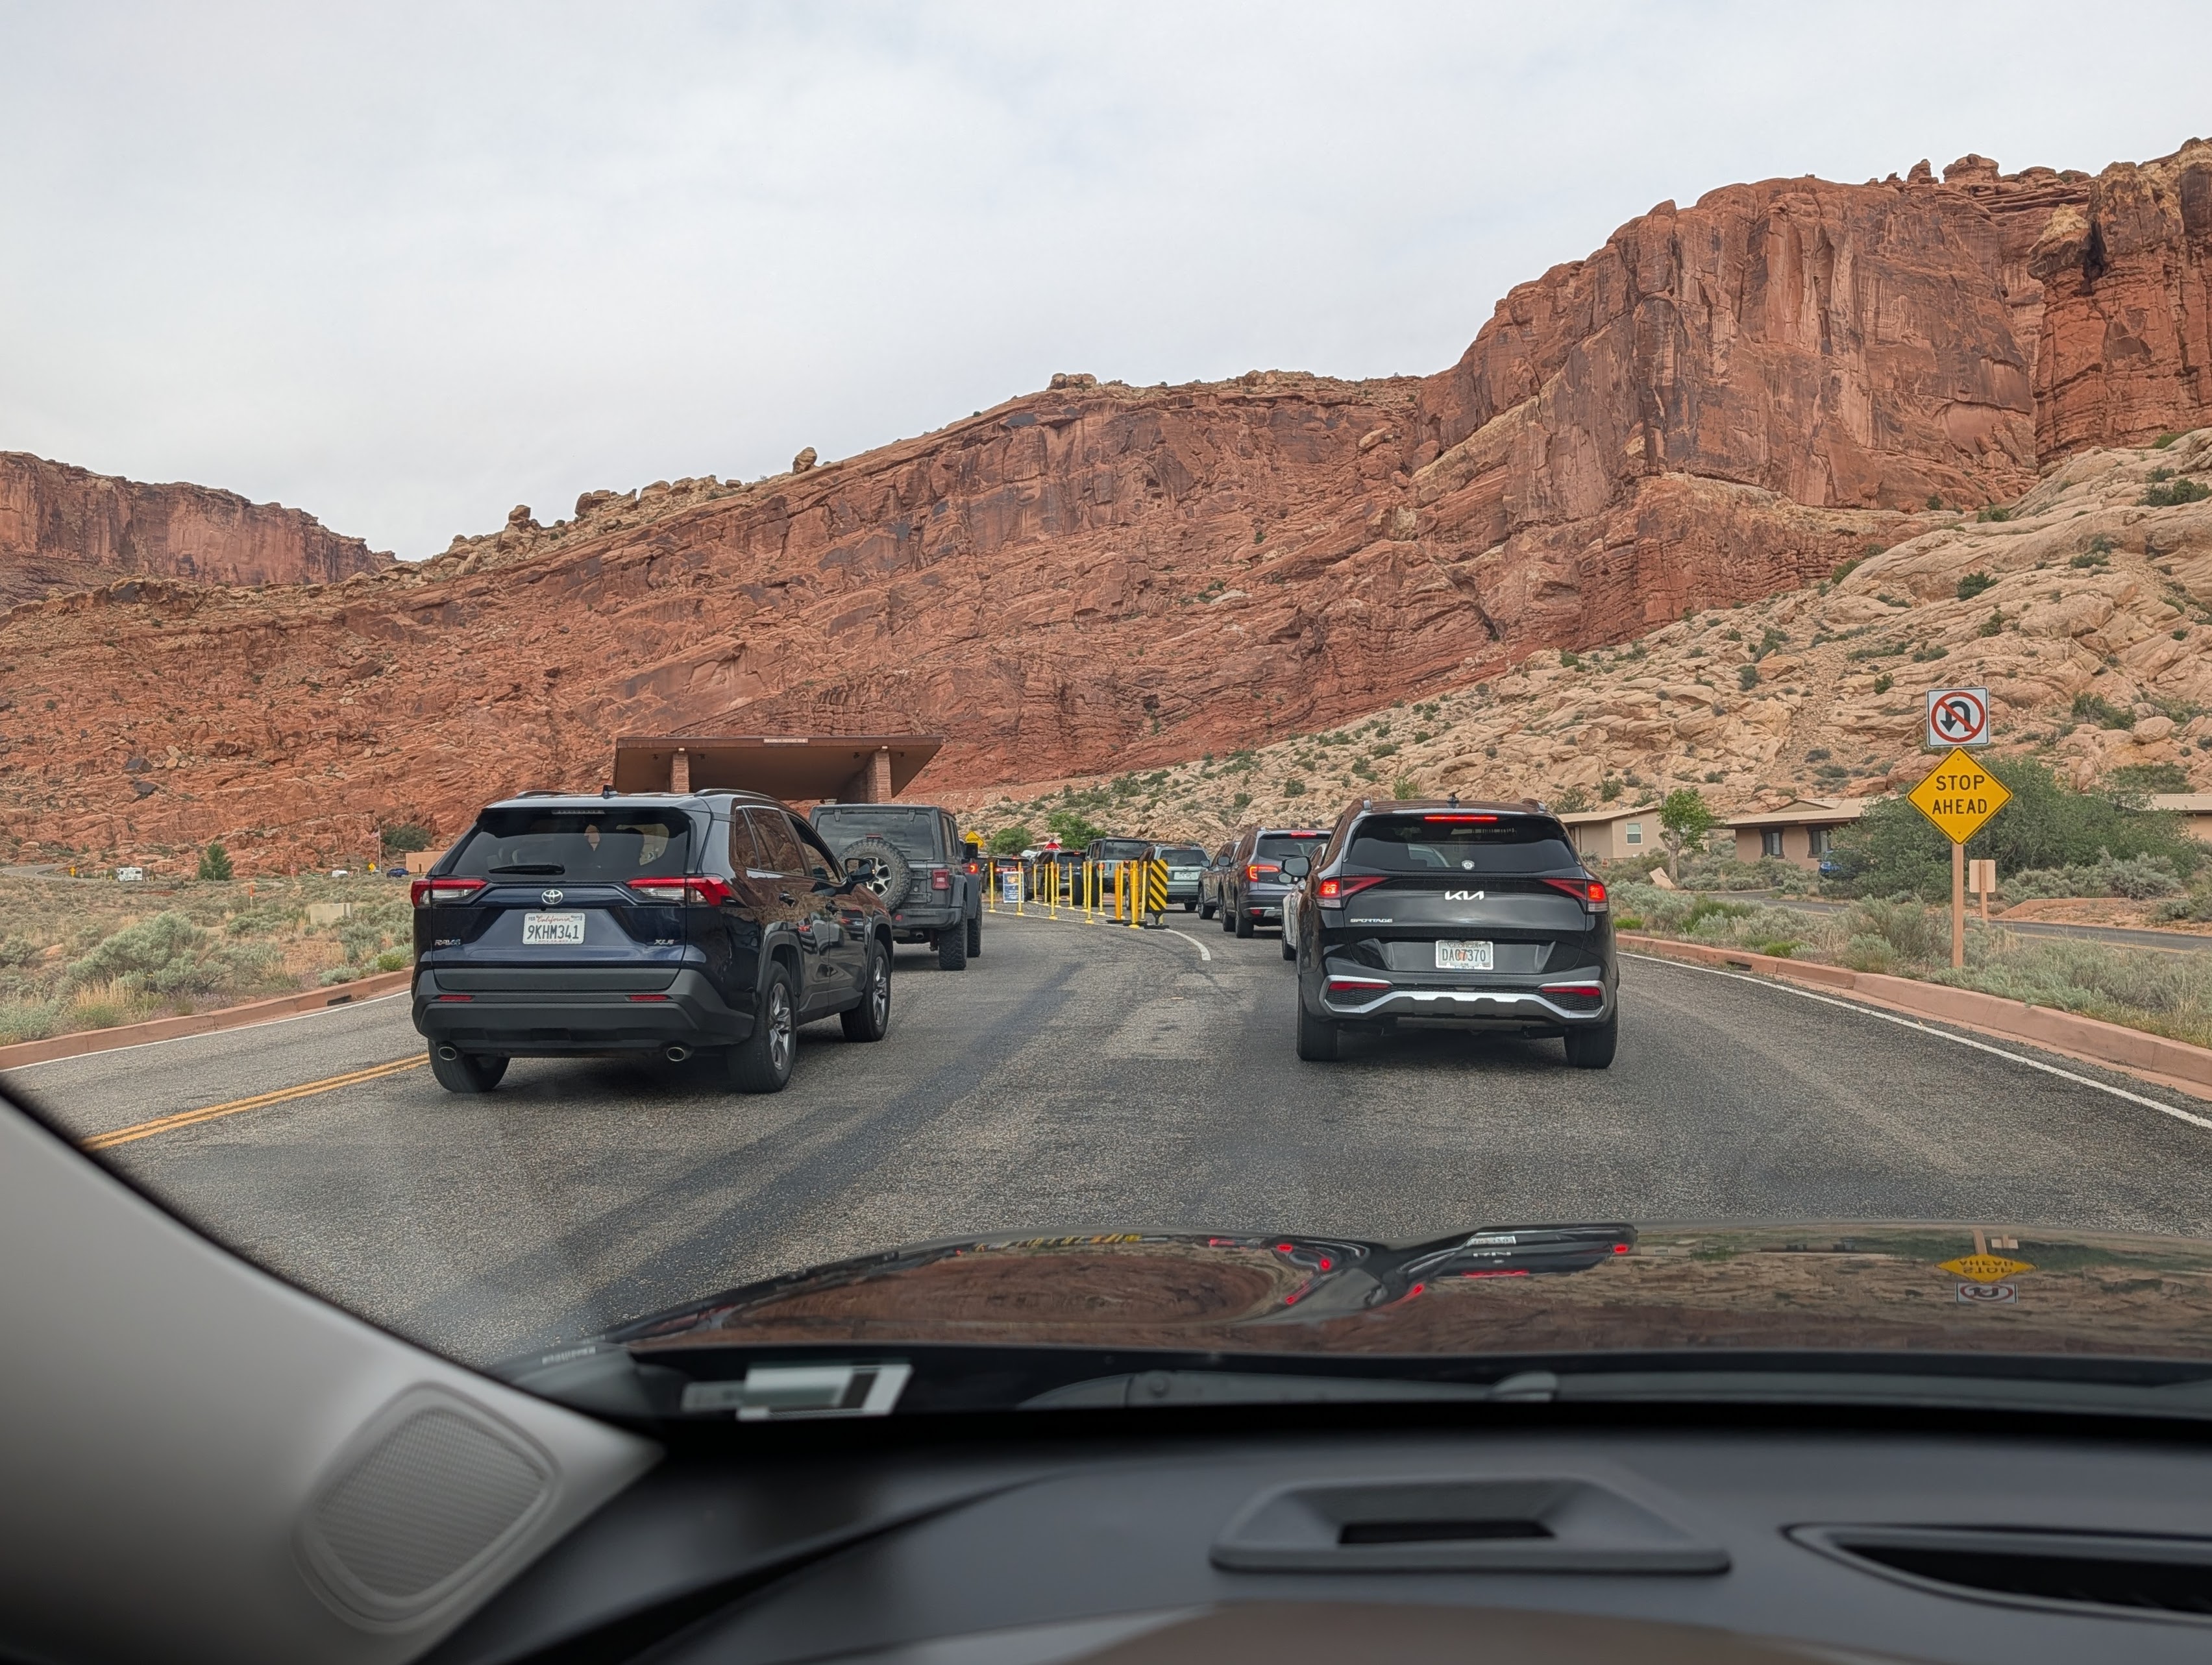
Thursday was another free day – the course officially started at 5:00PM when the group first met with the trip lead. Since I had most of the day free, I decided to check out the park in the daylight. Unfortunately, the weather was uncooperative for photography – heavy cloud cover and a lot of wind. But, I wanted to check out some of the famous arches and do a little hiking. The park was crowded, but not too bad – only a 15 minute wait to get through the entrance.
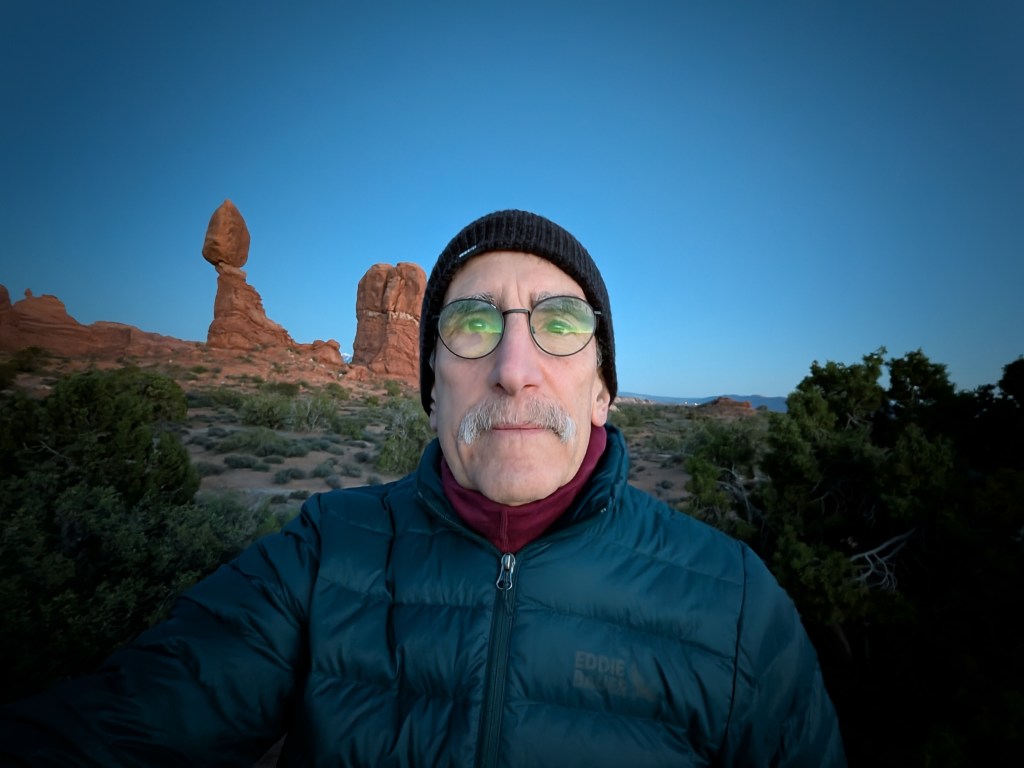
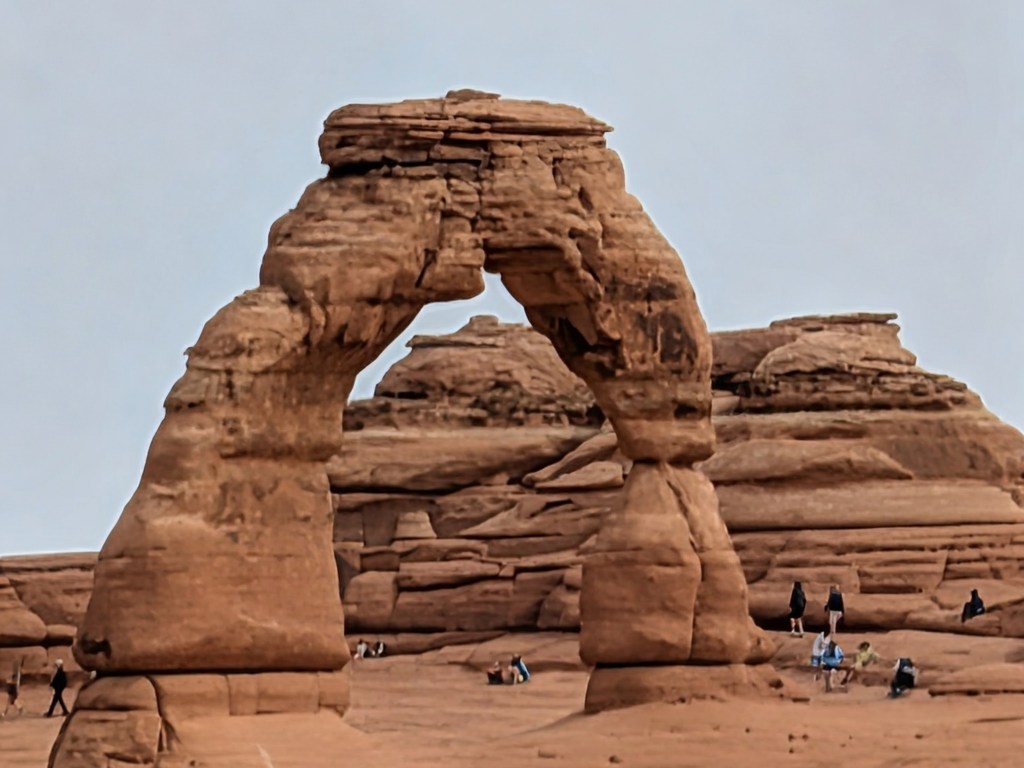
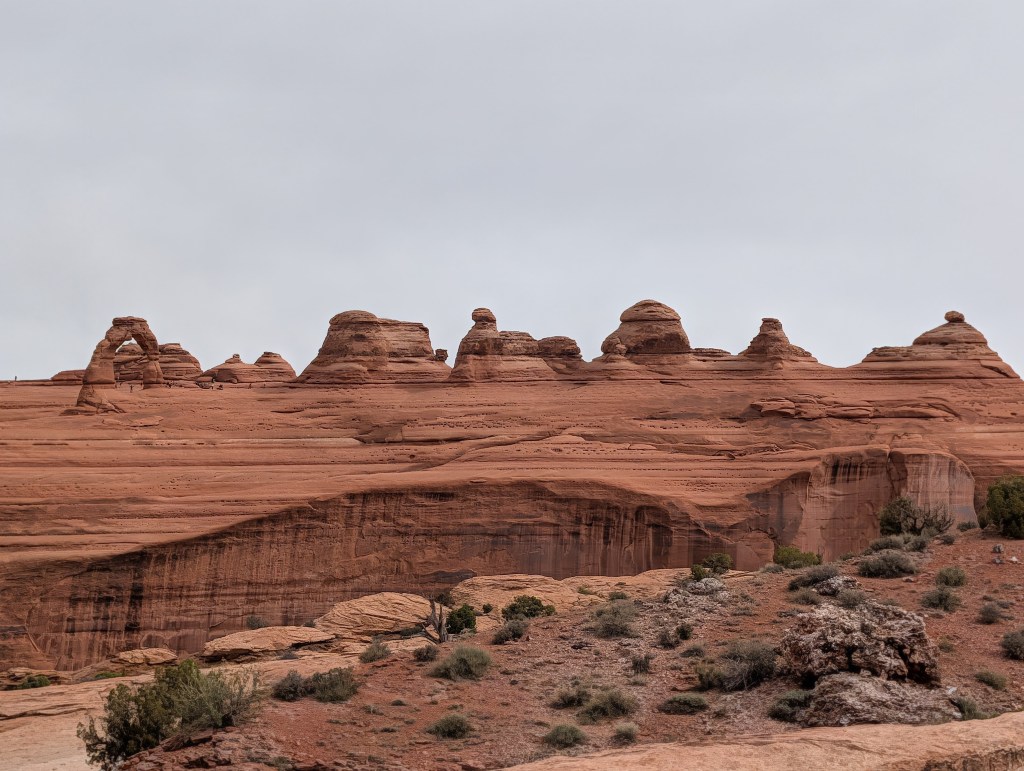
First on my list was the best known feature of the park, the Delicate Arch. There are two trails to see this feature – one requires 3 miles of hiking on steep, rocky terrain, which gets you right up to the arch. The other is a mile hike up a steep, rocky trail which gets you to viewing area where you can see the hordes of people in the distance who hiked up the more difficult trail. I opted for the long range view, and I’m glad I did.
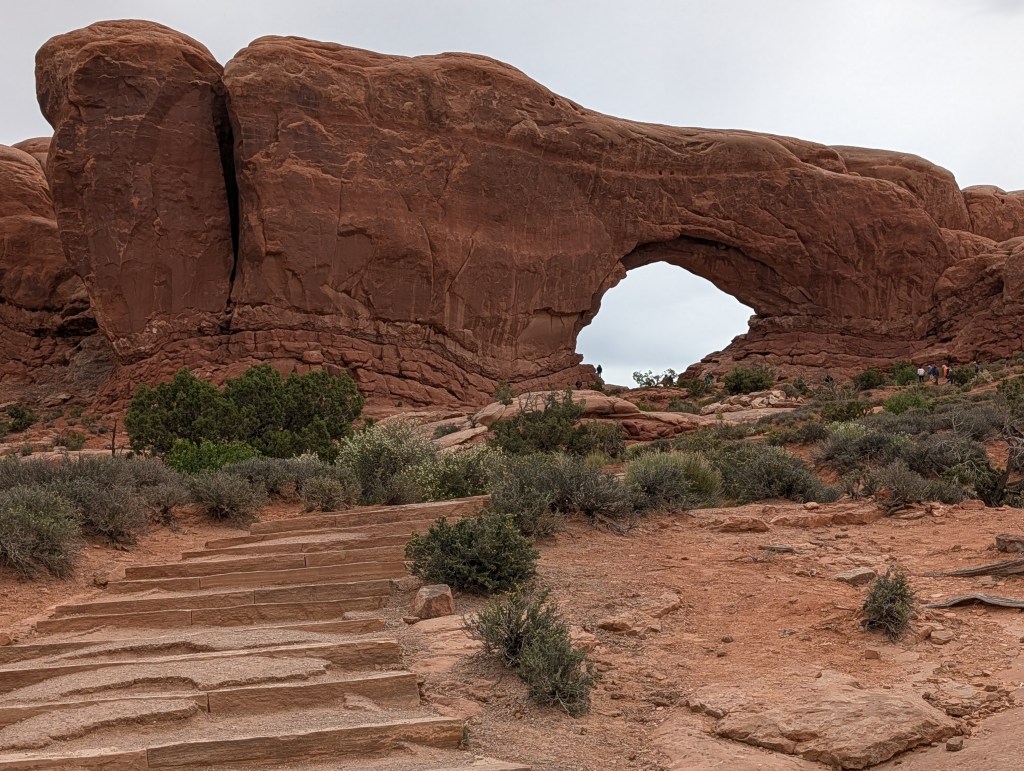
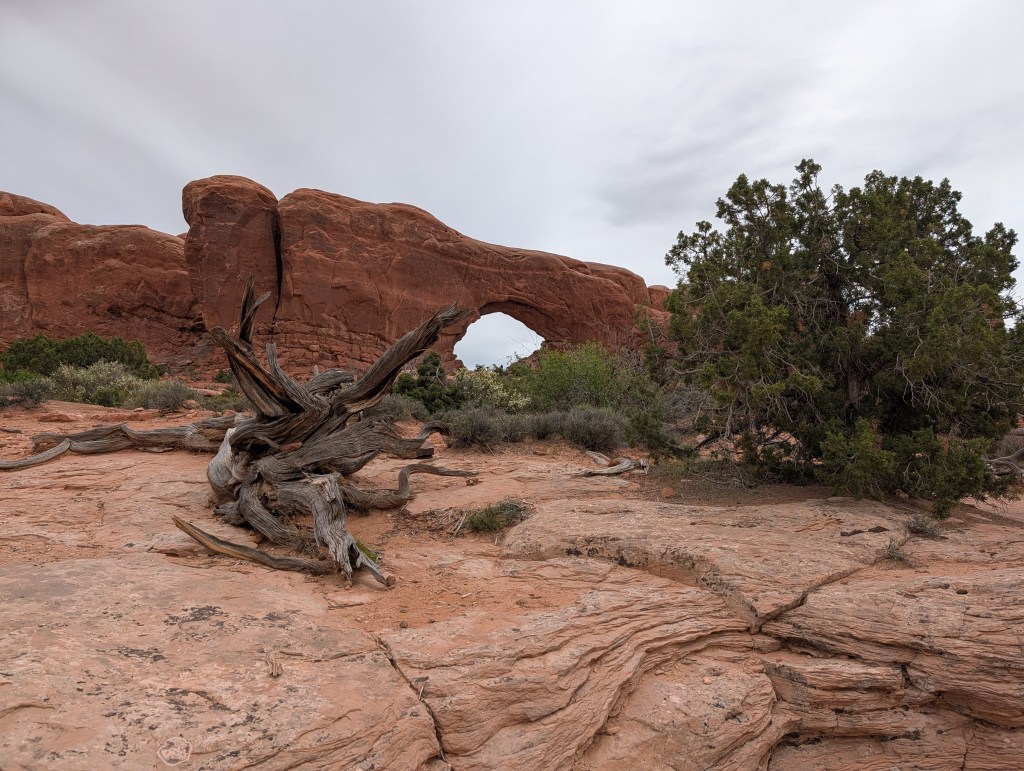
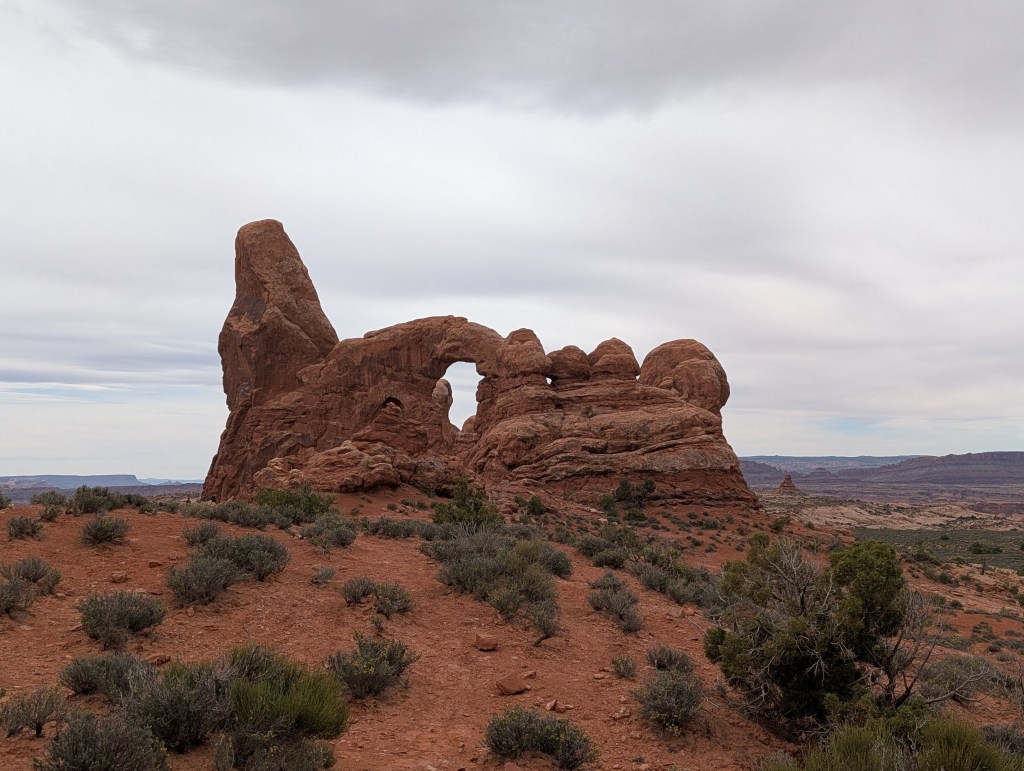
Next on my list were the Windows, two large arches close to another well known feature, the Double Arch. The lighting was extremely flat by then, but I hiked up some of the trials for the fun of it – I’ve got a few more free days, so I’ll hopefully get a chance to photograph these in better conditions.
I met up with the rest of the group later that afternoon – a good mix of folks, mostly from the Denver area, but a few from other parts of the country. There was also a mix of experience with the group – some had been on this same trip before with the same lead, and most everyone had prior experience with astrophotography. I also had a bad case of gear envy – many of had higher end cameras and lenses, a few with the top end Sony cameras. It also became apparent on how this was different from all my other trips – this was all about the process and technical details of astrophotography. The trip lead is an expert in this field, and the focus of the course is all about the camera gear and understanding the fine details of tuning it for capturing low light from the stars. What was missing from the initial workshop session and first outing, was any discussion of the park and region, unlike Road Scholars and National Geographic trips. No culture, no geology, no flora or fauna – just cameras and how to shoot the stars. I doubt if I will ever focus much on star photography after this trip – this was just one of those topics I’m interested in enough to take a course like this, and I will be doing more night photography for the Northern Light trip. But I cannot see myself investing in the specialized gear and software for stacking photos of the Milk Way or creating those cool spiral shots of star tracking. But that could change I guess.
Our first workshop session was enlightening though – I learned a lot about the fancy camera I have, and the basics of star photography. We then headed out for our first session at 11PM – the weather was not exactly conducive for photography – cloud cover, cold, very windy, but the lead wanted to at least show us how to “tune” the camera settings, and that needed to be done out in the wild. The bare basics were how to set your focus correctly – that’s not as easy as it sounds. I had fortunately lucked out in getting the settings right on my own, but now understood more on how to balance between the aperture, shutter speed and ISO to get the sharpest photos. And for focusing the camera….well, you don’t just set your focus to infinity. You’ll wind up getting blurry stars. Why? The stars are beyond infinity! You actually just have to pick a star, not a planet, and manually focus on it until it is small and clear, and then tape the focus ring on the lens. You’re all set at that point.
Enough technical details for now. We headed out in five cars – I decided to drive on my own in case I was too tired and wanted to head back early. It really did not matter – it was too windy and cold to do anything other than set the focus under the trip leads supervision, and then we headed back to the hotel. The clouds were rolling in again anyway, so there was no sense in staying any later. The spot we wound up in for our calibration exercise was an issue for me – we had to hike down a rocky trail in the dark – the trail would not have been a problem for me in the daylight, with my hiking stick, but a bit frightening with only my headlamp to light the path. I wound up using my tripod as a hiking stick on the way back. No damage done, and I did get to sleep by 1:30AM.
I did not get much in the way of photos from this second day (first of the trip) – I’ve included a few of the Windows arches (more stairs to climb!), and some other odds and ends including Delicate Arch, taken from a distance. This evening (Friday) we are heading out for sunset, and then multiple stops for Milky Way photography, and should be back by dawn. The skies will be clear, but the temperatures will be down in the teens. I did not pack for winter, and had to buy some thermal underwear. I’ll be spending a lot of time in the car with the heater on.
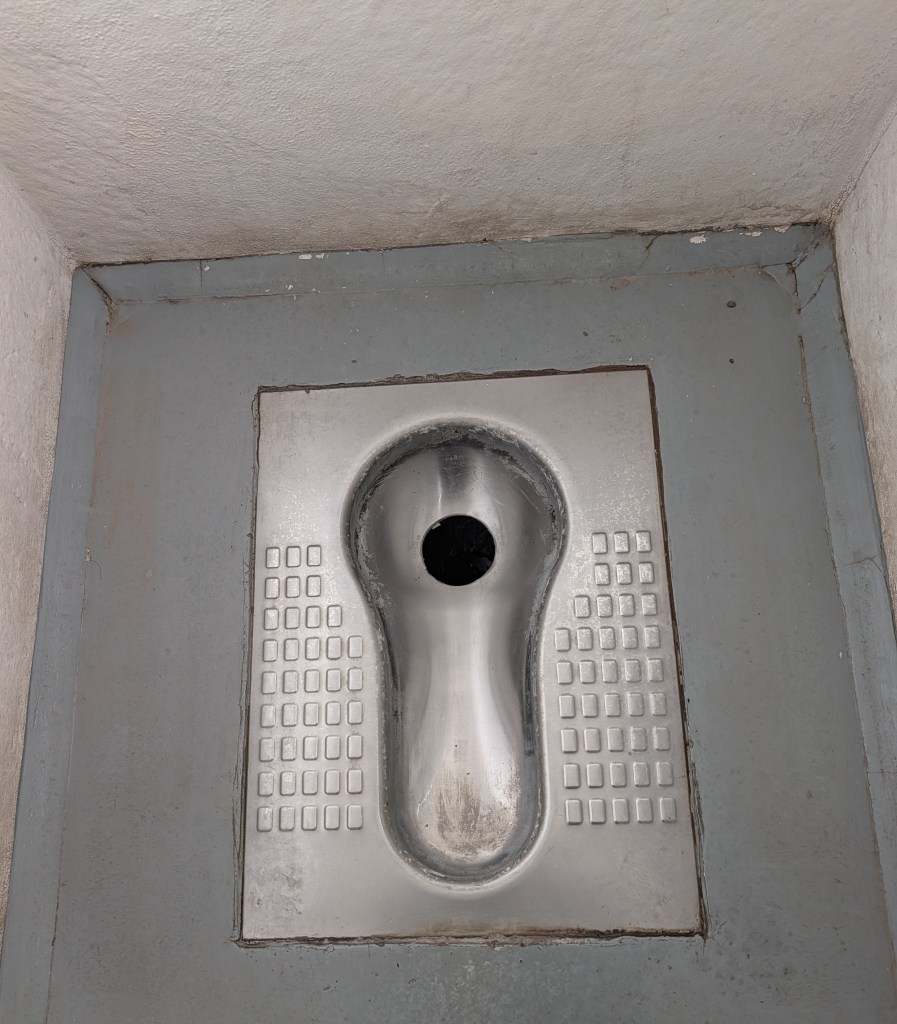
One last strange photo – never seen an outhouse with one of these before.
On that note….Peace.

Leave a comment