May 4th, 2026
Earlier this year, I joined a local photography organization, the Viewpoint Photographic Art Center (located in Sacramento), which hosts exhibits for photographers, and also offers workshops and classes for members. A great local organization for photographers. I visit the gallery at least once a month to view the latest exhibits and chat with the docents – gives me something useful to do when I’m home between trips.
I signed up for one of the workshops which piqued my interest – a morning photo shoot at one of those relatively unknown gems in Sacramento, the McKinley Park Rose Garden. I used to do some flower photography many years ago, but mostly of alpine flowers when I was hiking in the Rockies. I figured now that photography is my primary hobby and source of amusement, it would be worth getting a little hands-on training once in a while.
So, (extremely) early Sunday morning, I chugged down my morning coffee, grabbed the Sony A7RV with the Sony 25-105MM lense, also my fancy monopod, threw another lens in a small backpack, and headed off to the park – only a 20 minute drive. I figured I could survive 3 hours without any extra food.
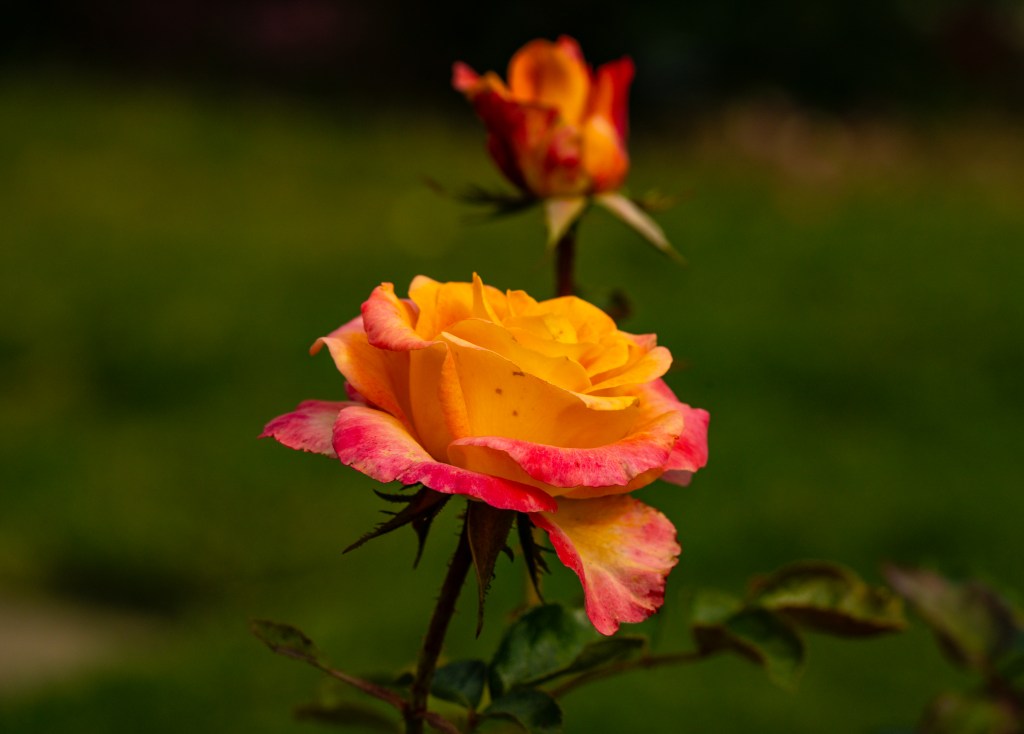
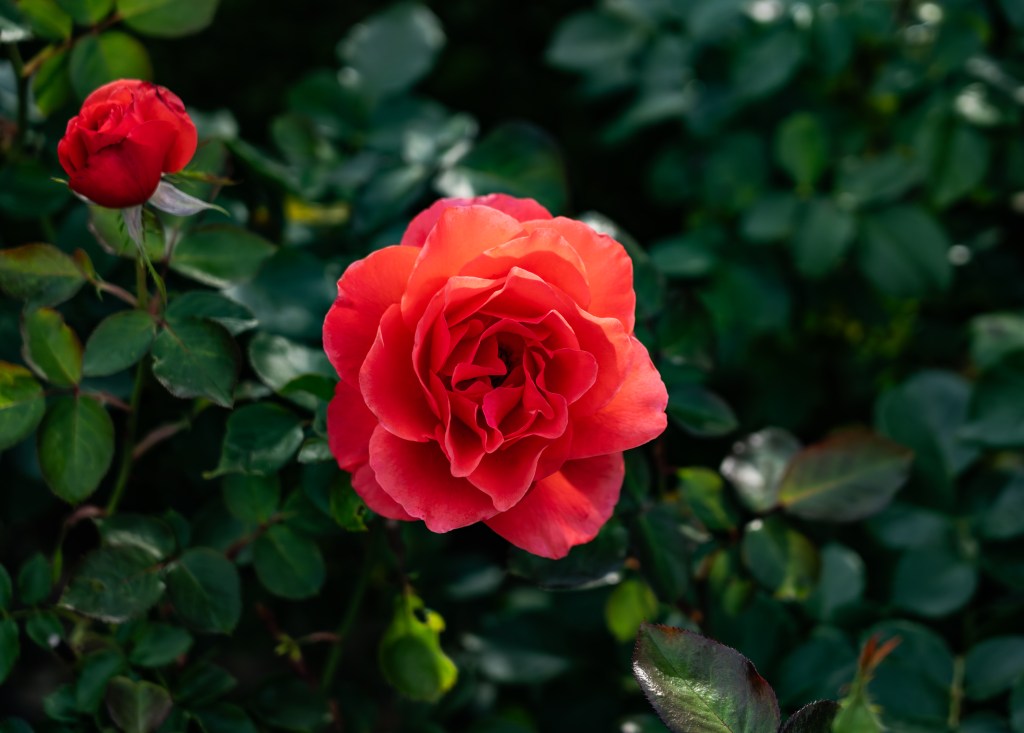
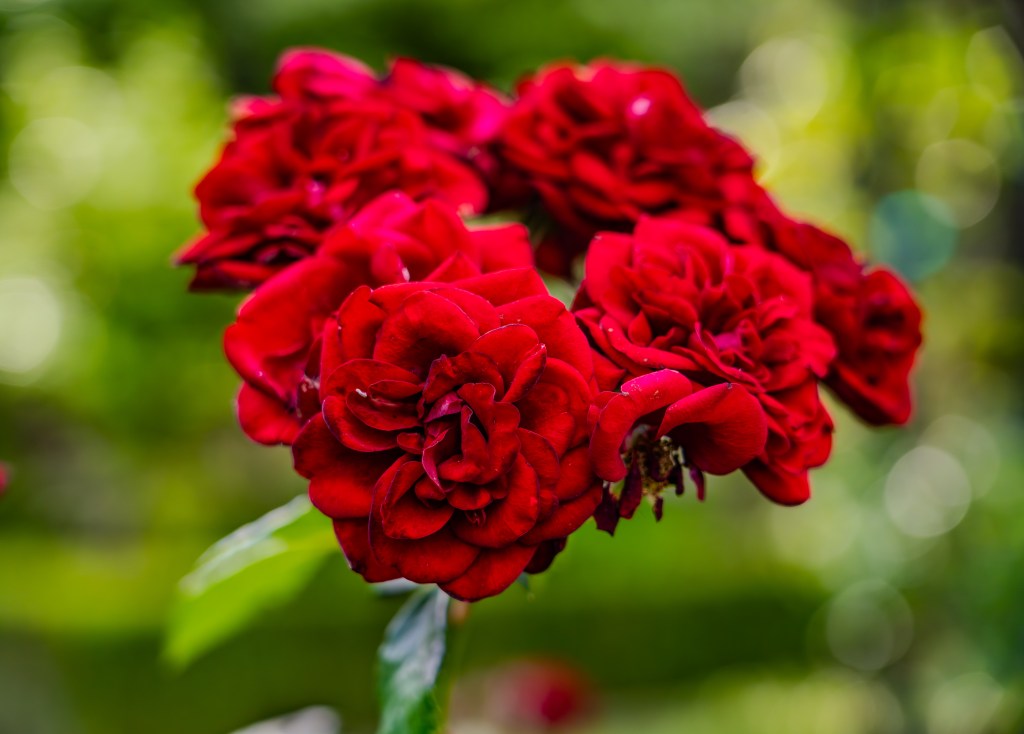
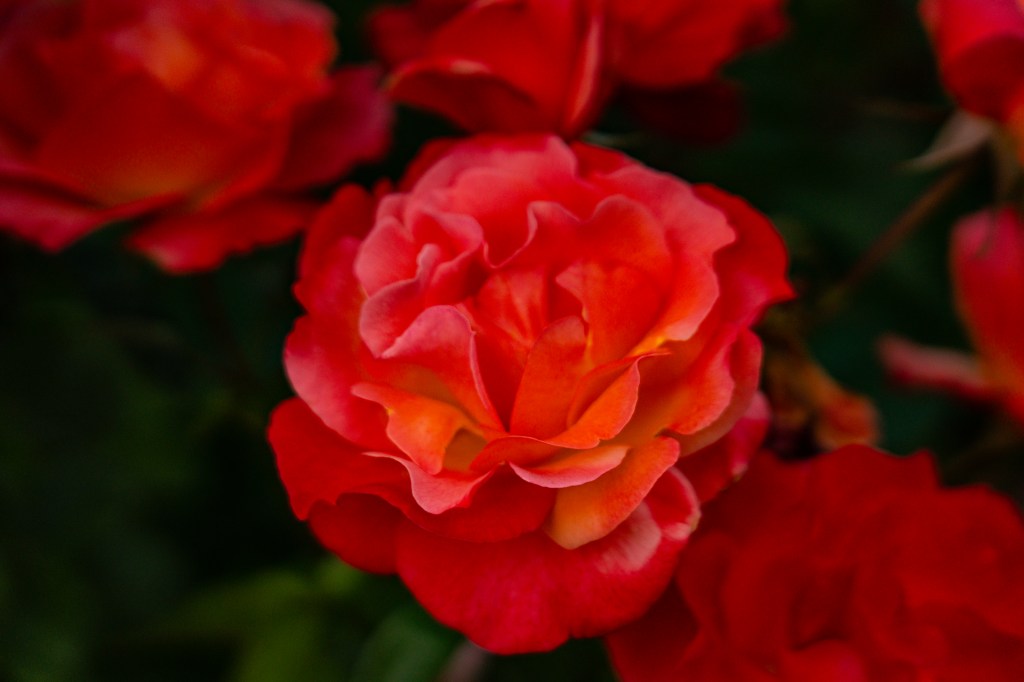
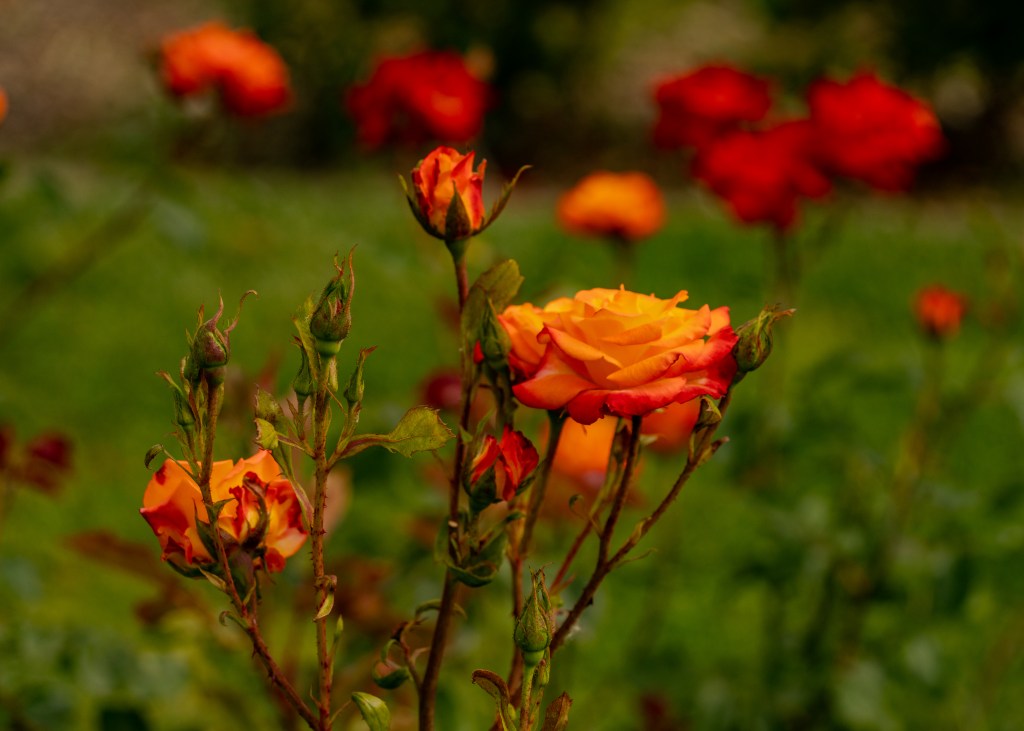
The Rose Garden covers a 1.5 acre section of the large park, and has over 1,200 rose bushes, managed and maintained by volunteers. It is a beautiful place to wander through, and is rented out for weddings and events…but most of the time, it is just open to the public 24X7. Just about all the bushes are bursting with blossoms this time of year, so this was a good day to take some photos.
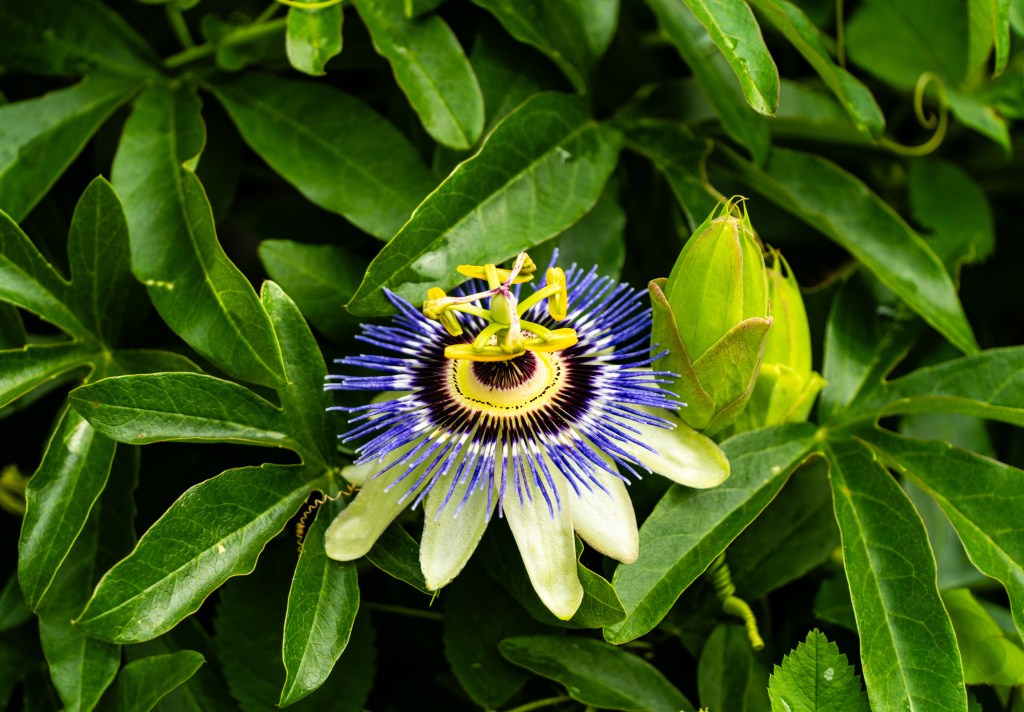
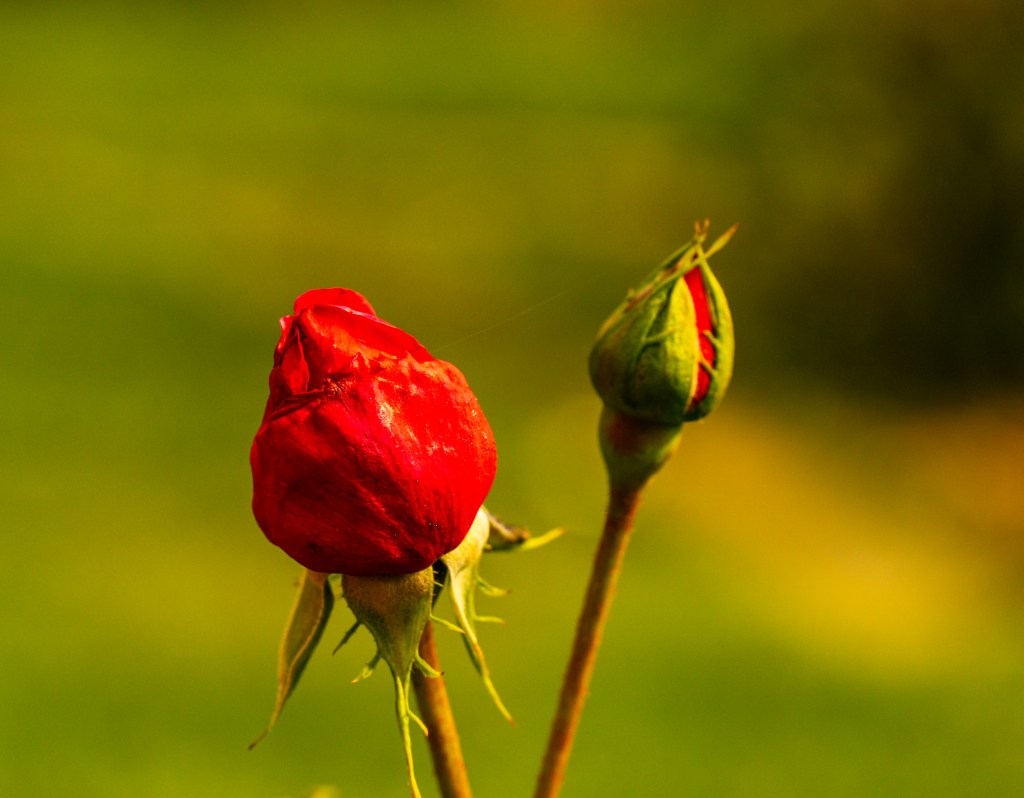
This turned out to be a very small workshop – myself, one other person and the Viewpoint lead. This was also sort of a casual affair with such a small group – the leader gave us some challenges to work on, some ideas on what we should try out, and then set us loose. We checked in every hour to discuss the conditions and things we should look for, and then went off to try them out. It was great. The lighting conditions kept changing, so you could photograph the same target, and then have a completely different look if the sun ducked behind a cloud. There were so many different flower shapes and colors, with lots of dense leaves to provide nice backgrounds to the colorful blooms. A fun time – it was nice shooting in the daylight (as opposed to my astrophotography trip), and seeing the difference you get by changing the depth of field on the same subject.
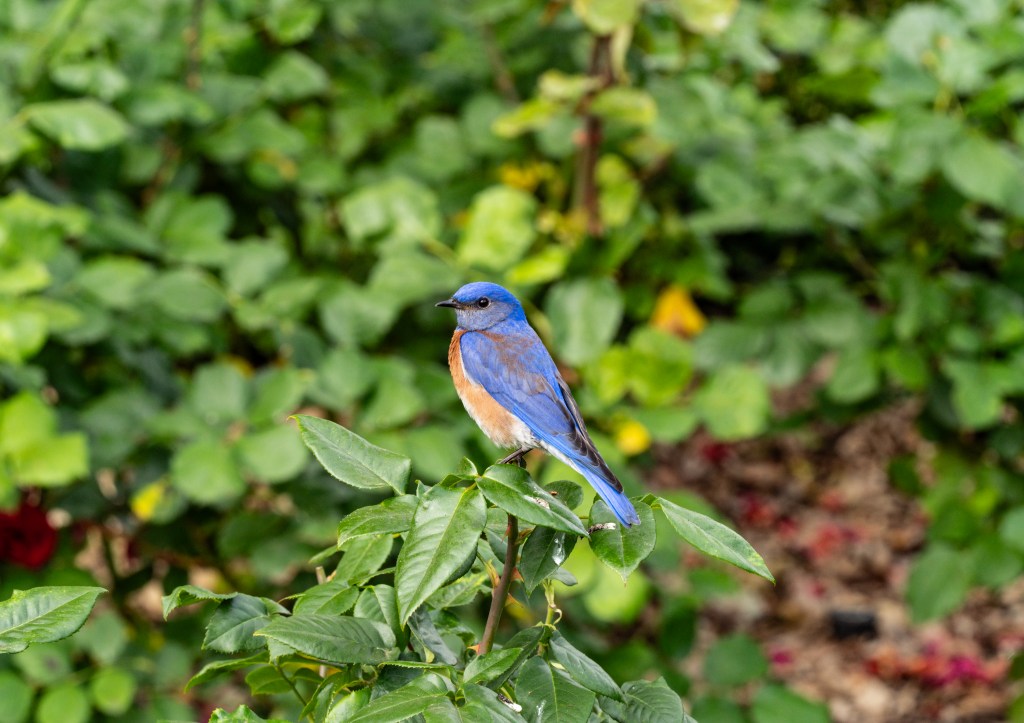
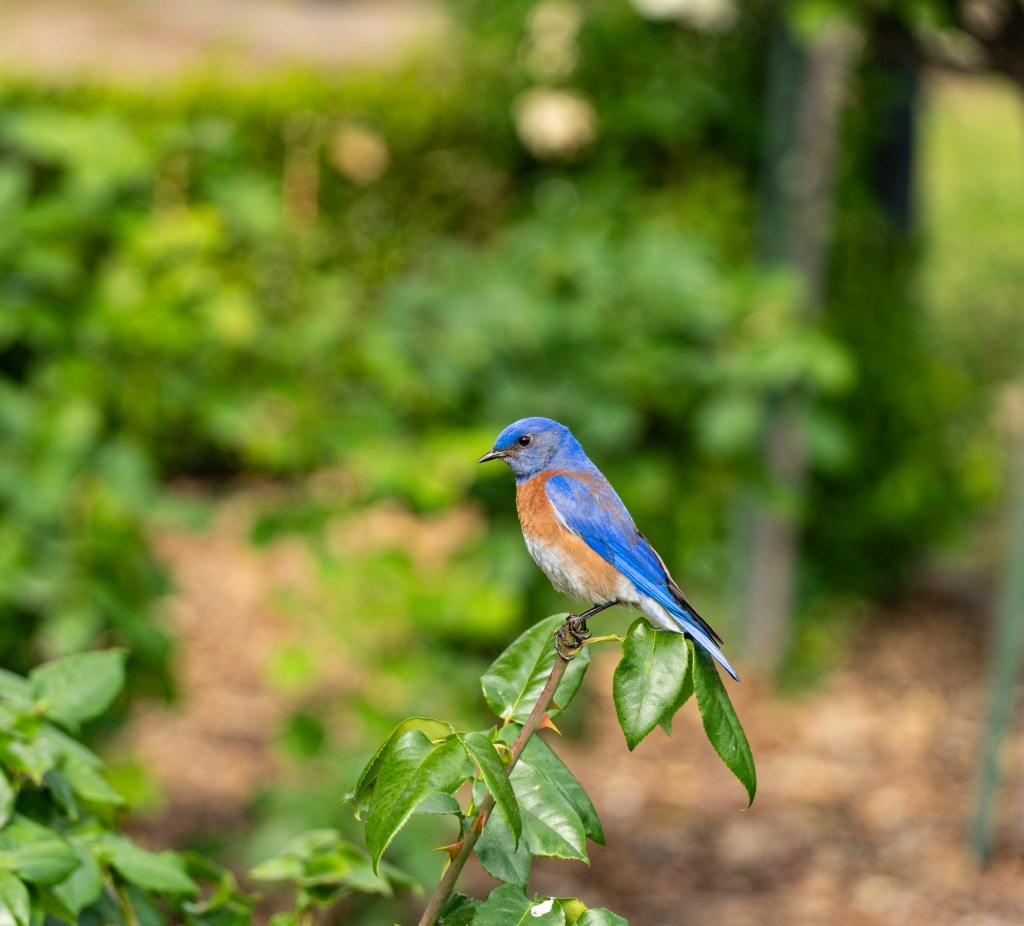
I did have one non-flower subject. A bluebird decided to hang around the bushes close to where I was standing, so I switched gears for some bird photography – these came out pretty nice.
We kept at it for about 2 1/2 hours until we all ran out of steam. I sat and chatted with the docent for a while, and then headed home. I really did not have much in the way of expectations for the results – I was happy with the bluebird images, and had a lot of fun so it was already a worthwhile endeavor. But when I downloaded the RAW images to Lightroom, I was shocked – there were quite a few really nice images. Not just the settings and focus, but the composition as well. Maybe I’m finally learning something….or maybe it’s just luck. My next planned photo trip is at the end of the month – hopefully I’ll remember some of what I’ve learned the past few weeks. It could happen.

If you live in Sacramento area, it’s really worth a visit to the garden – free parking along the street, and the rest of the park is nice for a long walk.